Discovering IPTV Smarters Pro Player
Recently, I came across the IPTV Smarters Pro Player, a tool I hadn’t known about before, and I decided to explore its features and functionality.
IPTV on IPTV Smarters Pro
IPTV Smarters Pro is a comprehensive IPTV player compatible with Android, iOS, and Smart TV platforms, including LG & Samsung, available for download from the respective TV app stores. It is also certified for use on PC, specifically Windows 8/10 and macOS. Currently, there is no support for Linux.
Continue reading to learn how to set up IPTV on IPTV Smarters Pro.
What You Will Need for This Tutorial
For this tutorial, you will require the following:
- Any Android, Windows, iOS, or macOS device.
- IPTV Service Provider: Feel free to select any provider of your choice.
- An internet connection.
IPTV Smarters Pro comes with an impressively rich feature set. It’s surprising that I hadn’t encountered it before.
However, it’s important to note that some of these features are available only in the premium version, including:
- Automatic platform detection (which will be demonstrated in the tutorial)
- Multi-screen simultaneous viewing
- Local content playback
- Buffer size modification
How to Set Up IPTV on IPTV Smarters Pro
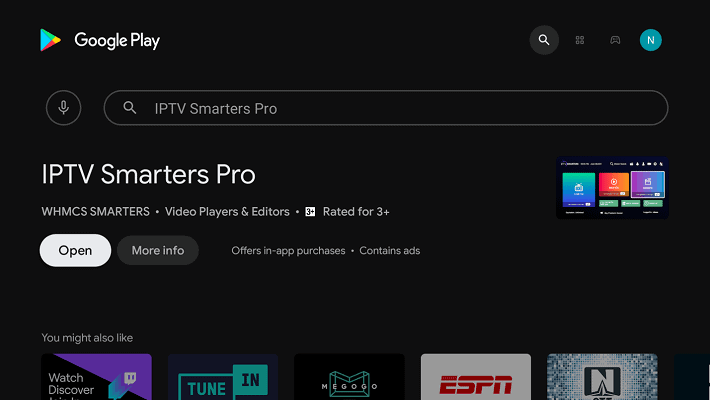
Step 1: From your home screen, open the app store.

Step 2: Search for “IPTV Smarters Pro”.

Step 3: Click on the “Install” button.
Step 4: Once installation is complete, click “Open” to launch the app.
Step 5: The app will automatically detect the platform, click save.

In my case, the Android TV platform on the Nvidia Shield was recognized as “TV.”
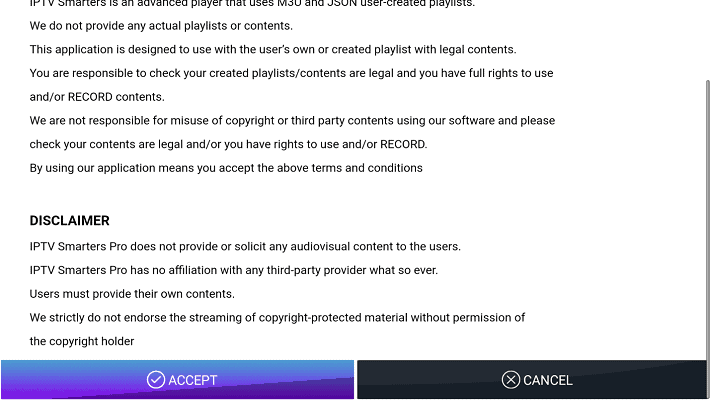
Step 6: Accept the terms and conditions presented.
Configuring IPTV on IPTV Smarters Pro
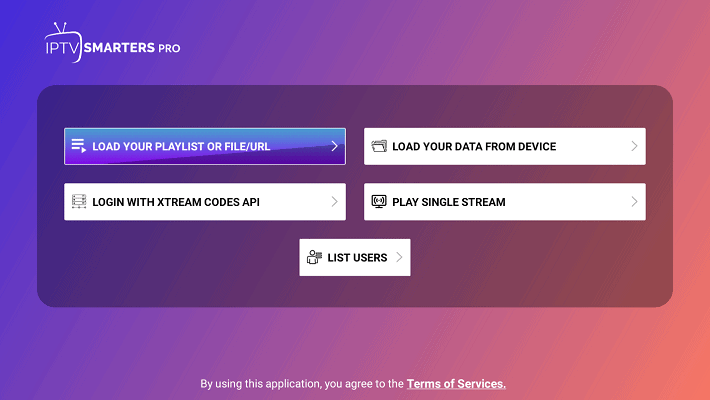
Step 1: Click on the “Load Your Playlist or File/URL” button to proceed.
Step 2: Click “Allow” to grant IPTV Smarters Pro access to files on your device.

Step 3: Fill in the app form, then click on “Add User”.
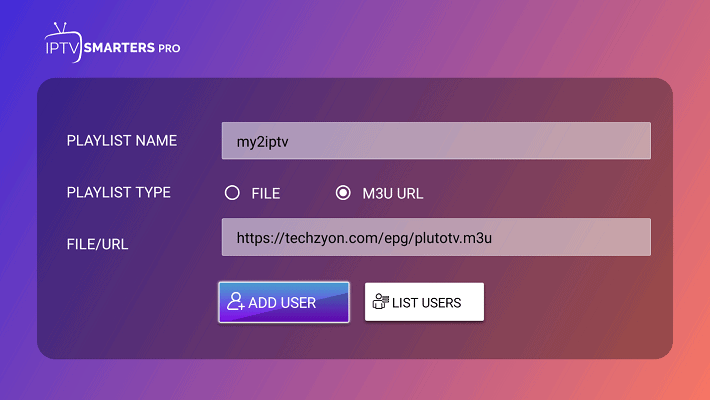
Give the playlist a recognizable name, especially if managing multiple IPTV services. Set the playlist type to M3U and use the M3U link provided by your IPTV provider.
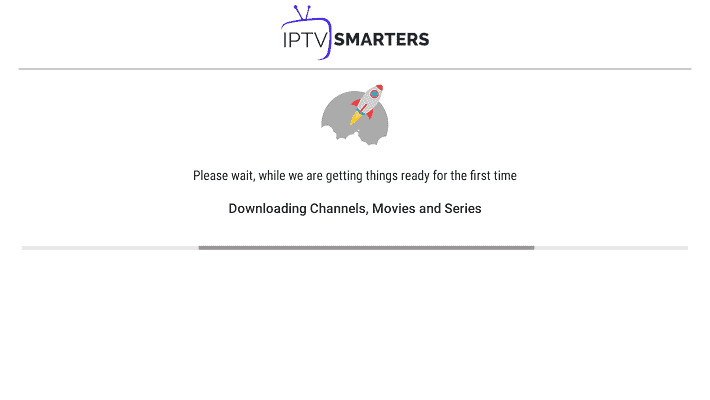
Step 4: You should now see a screen indicating that the M3U content is loading:
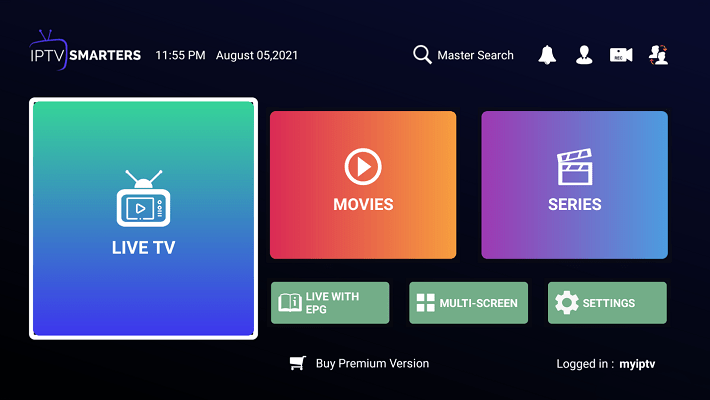
Step 5: Once loading completes, click on “Live TV”:
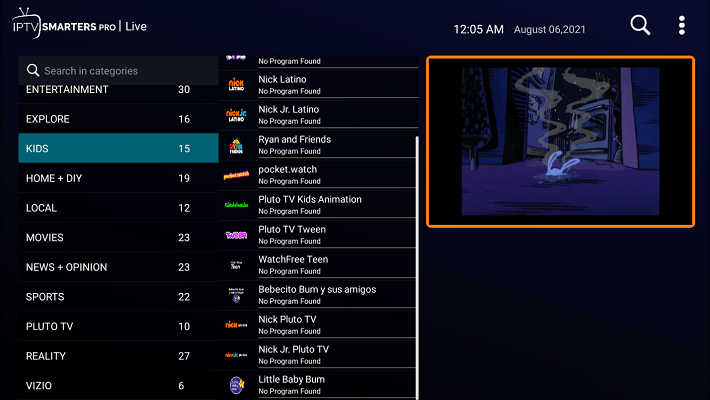
Step 6: You will see the IPTV channel categories to the left, with channels listed in the center, alongside a Picture In Picture (PIP) display on the right.
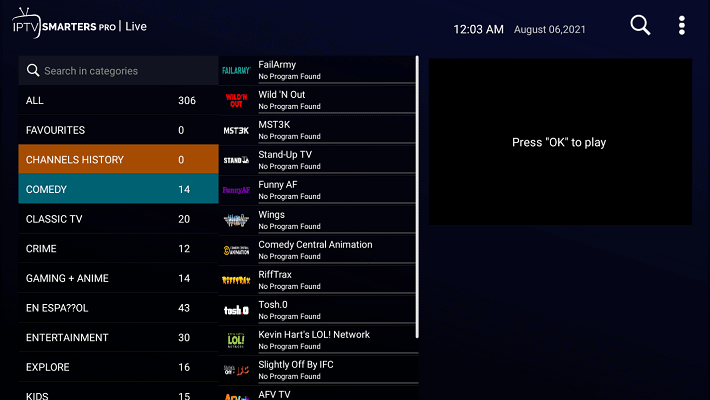
Step 7: Select any channel you want. It will start playing in the small window for preview. To play full screen, click on the display.
Step 8: Enjoy watching in full screen by clicking the “Multi-Screen” button at the bottom.

Step 9: Choose your desired multi-screen layout.
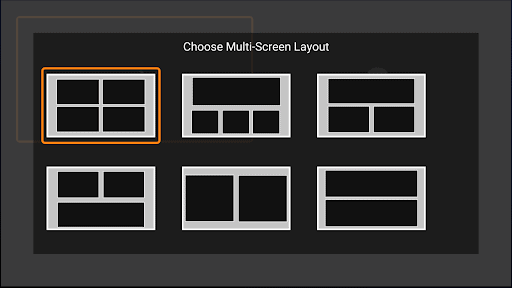
Step 10: You can now watch multiple channels on various screens simultaneously.

This feature truly impressed me, as it’s the first time I’ve encountered a player with such capabilities—it’s absolutely fantastic!
Additional Functionality
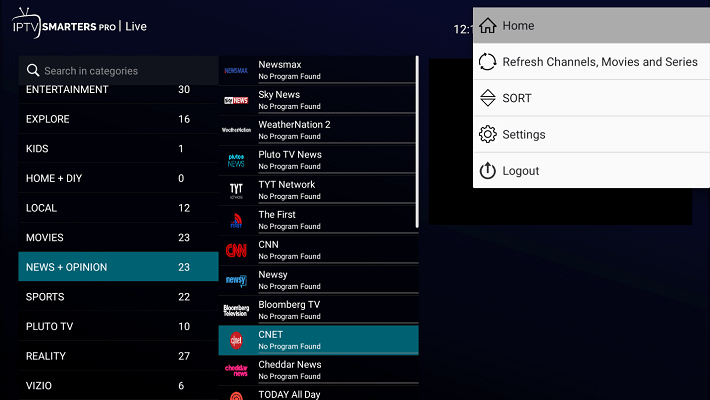
Step 1: You can long-click on any channel in the list to add it to your favorites or to start recording, as the player supports live TV recording.

Step 2: The top right dot menu allows you to sort channels/categories or refresh the M3U content if needed.
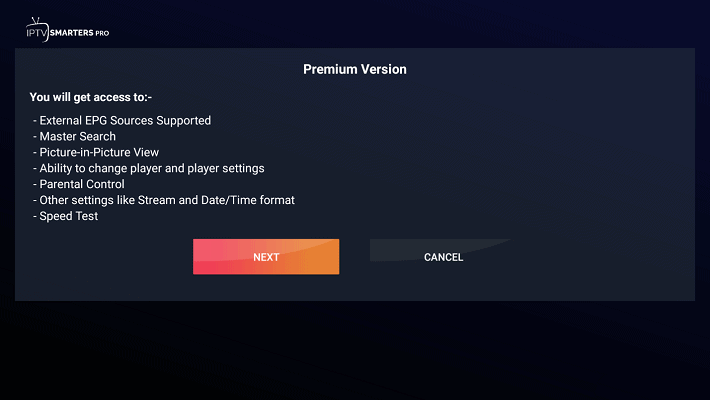
Step 3: The “Settings” option prompts you to upgrade to the premium version for additional features.
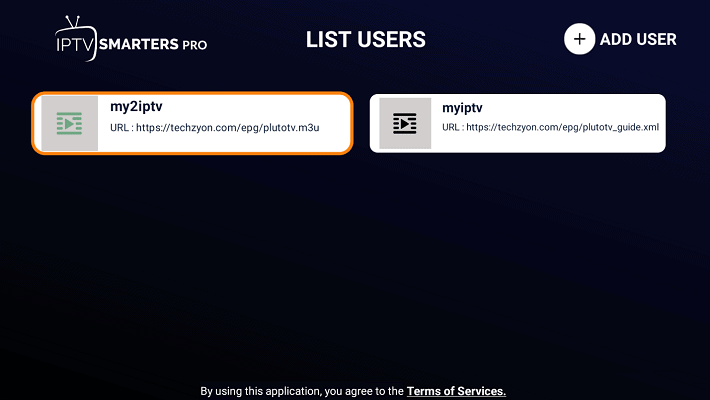
Step 4: You can easily switch between “users,” or IPTV services, making the player efficient for managing multiple IPTV options.
Conclusion
Setting up IPTV on IPTV Smarters Pro is quite straightforward, although many features are reserved for the premium version. Overall, I recommend this player, particularly for its multi-screen support.
If you’re transitioning from an open-source player like Kodi, you might find the whole “premium version” concept a bit cumbersome.
As always, your thoughts and comments are welcome below. Don’t hesitate to share your feedback or let me know if you enjoyed this tutorial!